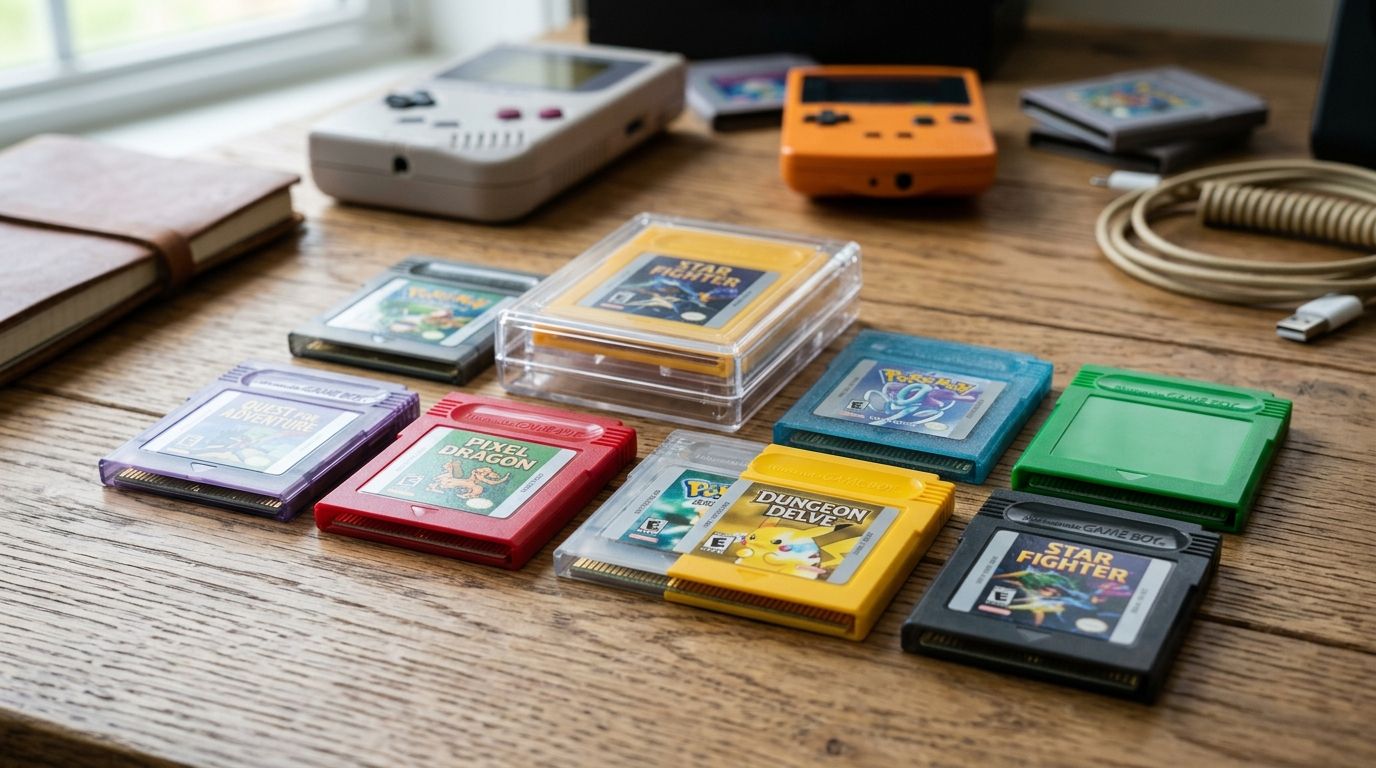
Picking the right Game Boy cartridge shell in 2026 comes down to three things: screw type, label fit, and what you're actually building. Best overall: the OEM-spec screw-together shell. Best for custom label art: the no-label windowless shell. Best budget option: the bulk clear multi-pack shell.
- The OEM-spec screw-together shell wins overall for restoration builds in 2026 because it matches original Nintendo tolerances.
- Phillips-screw shells skip the 3.8mm Gamebit tool entirely — best for one-off repairs and beginners.
- GBA shells with a working SRAM battery door are mandatory for any save-game cartridge rebuild.
- Thin-profile flashcart shells exist specifically to clear taller flash cart PCBs without cracking the halves.
- A bulk clear multi-pack is the cheapest path to a working game boy cartridge shell when you're rebuilding more than one cart.
Why this matters
A cracked or yellowed Game Boy cartridge shell is the most common reason a working PCB ends up in a drawer instead of a console. The wrong shell wrecks a repair fast: mismatched screw posts strip on the second turn, an oversized flashcart board won't seat, or a battery door that doesn't hold tension drops the save on every power cycle.
Restoration builds live and die on shell tolerances, not paint jobs. GBMake's custom cartridge builds start from the same principle — the shell is structural, not cosmetic, and a mismatched half-shell undoes hours of soldering work on a mainboard.
What makes the best Game Boy cartridge shell
- Half-shell alignment: the two halves need to close flush without gapping at the label window or the connector edge.
- Screw type: 3.8mm Gamebit tri-wing versus standard Phillips changes what tools you need on the bench.
- Label window precision: a cutout that's off by even a millimeter leaves the label crooked or overhanging the edge.
- PCB clearance: standard GB/GBC boards are thin; flash cart PCBs and SRAM save boards run thicker and need extra depth.
- Battery door fit: any cartridge with save-game SRAM needs a door that holds spring tension on the coin cell.
- Material clarity: clear and smoke shells shouldn't cloud or yellow faster than solid-color shells under the same UV exposure.
Game Boy cartridge shells at a glance
| Shell type | Best for | Standout feature | Key limitation |
|---|---|---|---|
| OEM-spec screw-together | Restoration builds | Matches original tolerances | Needs a Gamebit driver |
| No-label windowless | Custom label art | Full front panel for custom prints | No stock label reference point |
| Semi-transparent smoke | Showing off mods | Lets the PCB show through | Shows dust and fingerprints |
| Phillips-screw | Tool-free assembly | No 3.8mm bit required | Less true to original hardware |
| GBA SRAM battery-door | Save-game carts | Working battery door tension | Only fits GBA-shape carts |
| Thin-profile flashcart | Flash cart builds | Extra internal depth | Won't fit stock GB/GBC PCBs |
| Bulk clear multi-pack | Batch rebuilds | Lowest cost per cartridge | Inconsistent clarity across units |
1. OEM-spec screw-together shell: best Game Boy cartridge shell for restoration builds
This is the shell that matches original Nintendo tooling dimensions almost exactly, down to the post spacing and connector lip. It's the default choice for anyone rebuilding a cartridge that needs to look and feel stock in 2026, including donor carts headed into a resale pile.
OEM-spec shell pros:
- Half-shells align flush with zero gapping at the seam
- Connector edge sits at the correct depth for a snug console fit
- Screw posts hold up to repeated open/close cycles during repair work
OEM-spec shell cons:
- Requires a 3.8mm Gamebit tri-wing driver, not a standard Phillips
- Offers no built-in flexibility for oversized flashcart PCBs
Best for: restoration builds where stock fit and finish matter more than customization. Verdict: Buy.
2. No-label windowless shell: best for custom label art
This shell drops the stock label window in favor of a flat front panel, built for hobbyists printing their own cartridge art or homebrew branding. It's a favorite in the homebrew scene precisely because it doesn't fight your print job with a pre-cut window in the wrong spot.
No-label shell pros:
- Full front panel for wraparound or edge-to-edge custom prints
- No window alignment issues since there's no window to align
- Works equally well for GB, GBC, and GBA cartridge profiles
No-label shell cons:
- No stock reference point if you want to replicate an original label layout later
- Not the right pick if you're trying to preserve an original cartridge's look
Best for: homebrew developers and custom-print builds. Verdict: Buy.
3. Semi-transparent smoke shell: best for showing off internal mods
Smoke and clear-tinted shells exist for one reason: letting the PCB, IPS wiring, or custom chip work show through the case. Anyone documenting a build for a Discord showcase or a YouTube teardown reaches for this shell first.
Smoke shell pros:
- Shows off soldering and chip-level mods without opening the case
- Pairs well with colored PCBs for a two-tone build
- Available in enough tint levels to hide or reveal detail as needed
Smoke shell cons:
- Shows dust, fingerprints, and scratches more than solid colors
- Clarity can vary noticeably between production batches
Best for: show builds and mod documentation. Verdict: Buy if the build is meant to be seen; skip for daily carriers.
4. Phillips-screw shell: best for tool-free, beginner-friendly assembly
Some aftermarket shells swap the original Gamebit tri-wing screws for standard Phillips heads. That single change means a first-time repair doesn't stall out because nobody owns a 3.8mm bit.
Phillips-screw shell pros:
- Assembles with tools most people already have on hand
- Faster for repeated open/close during multi-cartridge repair sessions
- Screw heads are less prone to stripping than tri-wing on cheap drivers
Phillips-screw shell cons:
- Departs from the original hardware spec, which matters for purist restorations
- Not the shell to use if the goal is a stock-accurate rebuild
Best for: beginners and anyone repairing carts without a specialty bit set. Verdict: Buy for casual repairs; hold for restoration purists.
5. GBA SRAM battery-door shell: best for save-game cartridges
Any Game Boy Advance cartridge holding a save file via SRAM depends on a coin cell battery held under spring tension by the shell's battery door. A worn or ill-fitting door is the single biggest cause of lost saves on rebuilt GBA carts.
Battery-door shell pros:
- Holds correct spring tension on the coin cell for reliable save retention
- Sized specifically to the GBA cartridge profile, not a generic fit
- Door tab resists snapping compared to worn originals
Battery-door shell cons:
- Only fits GBA-shape cartridges, not standard GB/GBC
- Adds a step to assembly versus a shell with no battery compartment
If a save-game rebuild is the whole point of the project, pair the shell with a battery kit rather than reusing a decade-old coin cell holder — see the rechargeable battery kits guide for options that don't rely on disposable coin cells.
Best for: GBA cartridges that need to hold a save file long-term. Verdict: Buy.
6. Thin-profile flashcart shell: best for flash cart builds
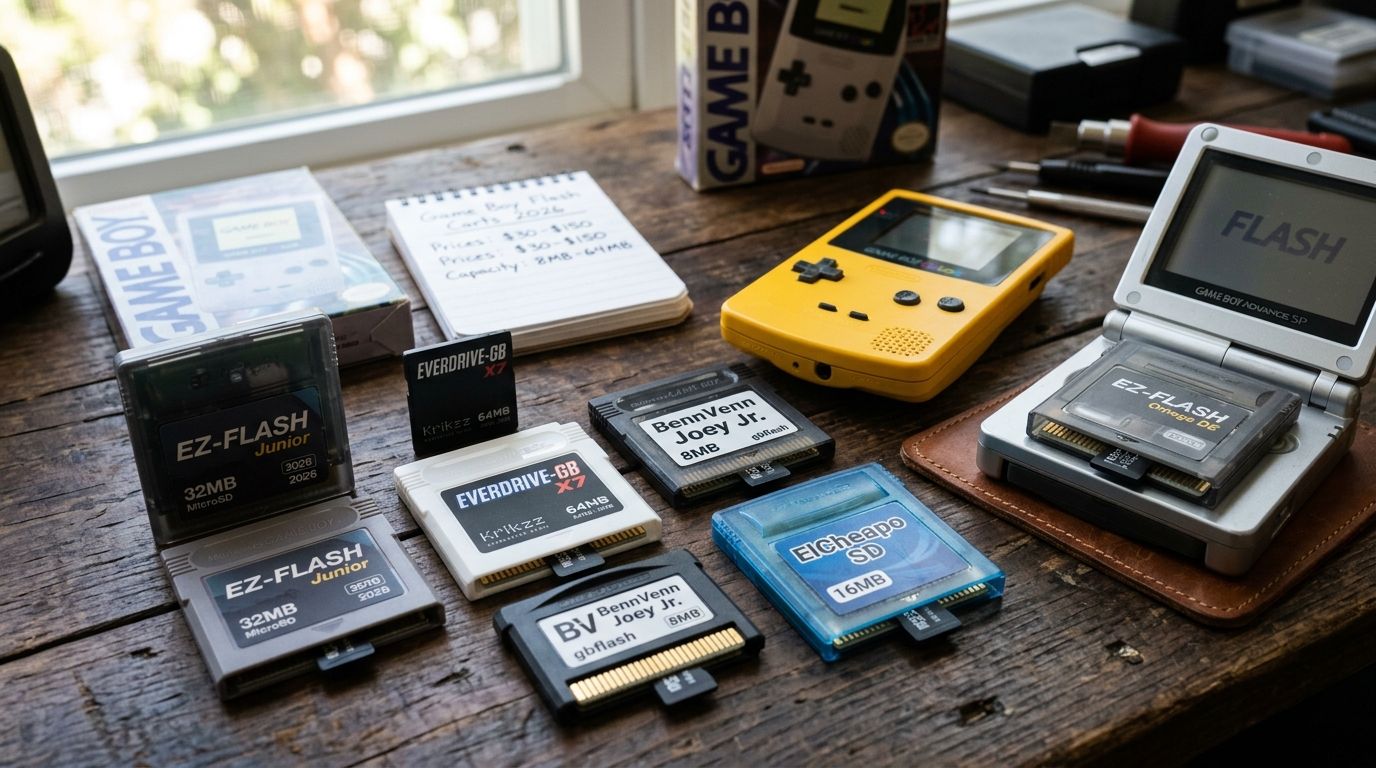
Flash cart PCBs run thicker than stock GB/GBC boards, and forcing one into a standard shell cracks the halves at the hinge points. This shell adds internal depth specifically to clear larger flash cart boards without stressing the plastic.
Flashcart shell pros:
- Extra internal clearance prevents shell cracking under board pressure
- Compatible with most higher-capacity flash cart PCBs on the market
- Still closes flush despite the added depth
Flashcart shell cons:
- Won't seat a standard thin GB/GBC PCB snugly — too much internal space
- A niche pick if you're not specifically building around a flash cart
Check the flash carts ranked by capacity and price guide before buying a shell so the PCB dimensions actually match what you're housing.
Best for: flash cart builds with thicker-than-stock PCBs. Verdict: Buy for flashcart projects; skip for stock repairs.
7. Bulk clear multi-pack shell: best budget option for batch rebuilds
When the job is rebuilding a stack of cartridges rather than one showcase piece, a multi-pack of clear shells brings the per-unit cost down. This is the shell for repair shops and hobbyists working through a backlog rather than a single collector-grade project.
Bulk shell pros:
- Lowest cost per cartridge when buying in volume
- Fast to source in quantity for batch repair sessions
- Clear finish works as a neutral base for painting or vinyl wraps later
Bulk shell cons:
- Clarity and wall thickness can vary noticeably between units in the same pack
- Not the pick for a single high-visibility build where consistency matters
Best for: repair shops and batch rebuild projects. Verdict: Buy for volume work; hold for a one-off showcase build.
How this list was ranked
Each shell type is ranked against the six criteria above — alignment, screw type, label fit, PCB clearance, battery door fit, and material clarity — and matched to the single use case where it wins outright. None of these shells compete for the same slot: a restoration build, a custom-art project, and a flashcart housing need different things, and this list treats them as different jobs rather than one leaderboard. Full cartridge restorations that involve more than the shell — a dead mainboard, worn buttons, a stripped screw post — usually need a look at mainboards for restoration builds alongside the shell itself.
Browse Game Boy cartridge builds
Custom cartridges, shells, and modding accessories for restoration and homebrew projects.
Which Game Boy cartridge shell should you choose?
For a standard restoration in 2026, the OEM-spec screw-together shell is the default pick — it matches original tolerances and doesn't force compromises elsewhere in the build. If the project is a custom label print, take the no-label windowless shell instead. If it's a flash cart build, match the shell to the PCB thickness first, not the color.
Anyone rebuilding a GBA cartridge that needs to hold a save file skips straight to the battery-door shell — no other option on this list solves that problem. Everyone else working through a batch of repairs gets the most value from the bulk clear multi-pack.
FAQ
What's the best Game Boy cartridge shell overall in 2026?
The OEM-spec screw-together shell is the best overall pick in 2026 because it matches original Nintendo tolerances for alignment, screw posts, and connector depth. It's the safest default for restoration builds where fit matters more than customization.
Do Game Boy cartridge shells need a special screwdriver?
OEM-spec shells use a 3.8mm Gamebit tri-wing screw, which needs a specialty driver most toolkits don't include by default. Phillips-screw aftermarket shells exist specifically to skip that requirement.
Is a clear cartridge shell better than a solid color shell?
Neither is objectively better — clear and smoke shells show off internal mods and PCB work, while solid colors hide wear and fingerprints. The choice comes down to whether the build is meant to be displayed or just used.
Why does my GBA cartridge lose its save file after a shell swap?
A worn or ill-fitting battery door doesn't hold spring tension on the SRAM coin cell, which drops the save on power loss. A GBA-specific shell with a properly fitted battery door fixes this in most cases.
Can a flash cart PCB fit in a standard Game Boy cartridge shell?
Not reliably. Flash cart PCBs run thicker than stock GB/GBC boards and can crack a standard shell's hinge points, which is why thin-profile flashcart shells exist with extra internal clearance.
What's the cheapest way to rebuild multiple Game Boy cartridges?
A bulk clear multi-pack shell brings the per-unit cost down for batch rebuilds, though clarity and wall thickness vary more between units than single-purchase shells.
Do all Game Boy cartridge shells fit GBC and GBA cartridges the same way?
No. GB and GBC cartridges share a shell profile, but GBA cartridges use a different shape entirely, especially around the battery compartment on save-game carts.
Should I match my cartridge shell color to my console shell?
That's a cosmetic choice, not a functional one — shell color has no effect on fit, PCB clearance, or save retention, so match colors purely on preference.
One last thing
The detail that trips up the most first-time shell swaps isn't the shell at all — it's the screw post depth. A shell with slightly shallow posts lets the connector edge sit proud of the console slot, so the cartridge looks seated but makes intermittent contact. Test the connector fit before closing the final screw, not after.